
What product accuracy actually is
Product accuracy is the discipline of making an AI product image physically truthful to the real thing: its materials, its details, and its dimensions, judged by a client who knows their own product better than anyone alive. It is the one thing clients actually pay for, and it is a repeatable method, not luck. The method has four moves: name the defect class (outline, proportions, part count, text, artwork, material, color, or construction detail), diagnose which one is failing, route it to the single technique built for that defect, then judge the output against the real product before it ships. At Dezygn we have measured this method with blind-judged evals: a 126-image dimension ablation, a 75-image material eval, and a 48-generation pose eval. Doctrine, not vibes.
The holy grail of AI product photography is accuracy, with regard to three things: materials, details, and dimensions. The output image has to be accurate to reality, and reality here means a client who knows their own product better than anyone alive.
Most people fail because they try to one-shot: one big prompt for everything at once, and pray. In my experience, trying to one-shot is where you usually waste hours literally. On one eyewear drop I lost about 5 hours to a single one-shot attempt before I admitted the obvious: "I was trying to do too many things at once. For complex objects like glasses, you need to simplify to the max. You also need to avoid introducing visual pollution early."
A good process solves so many issues: good product preparation, placement, positioning. The whole method below is one idea repeated: never ask the generator to bridge a big delta in one step. Every technique is a way of shrinking the delta until the model can clear it.
Diagnose first: the defect class picks the route
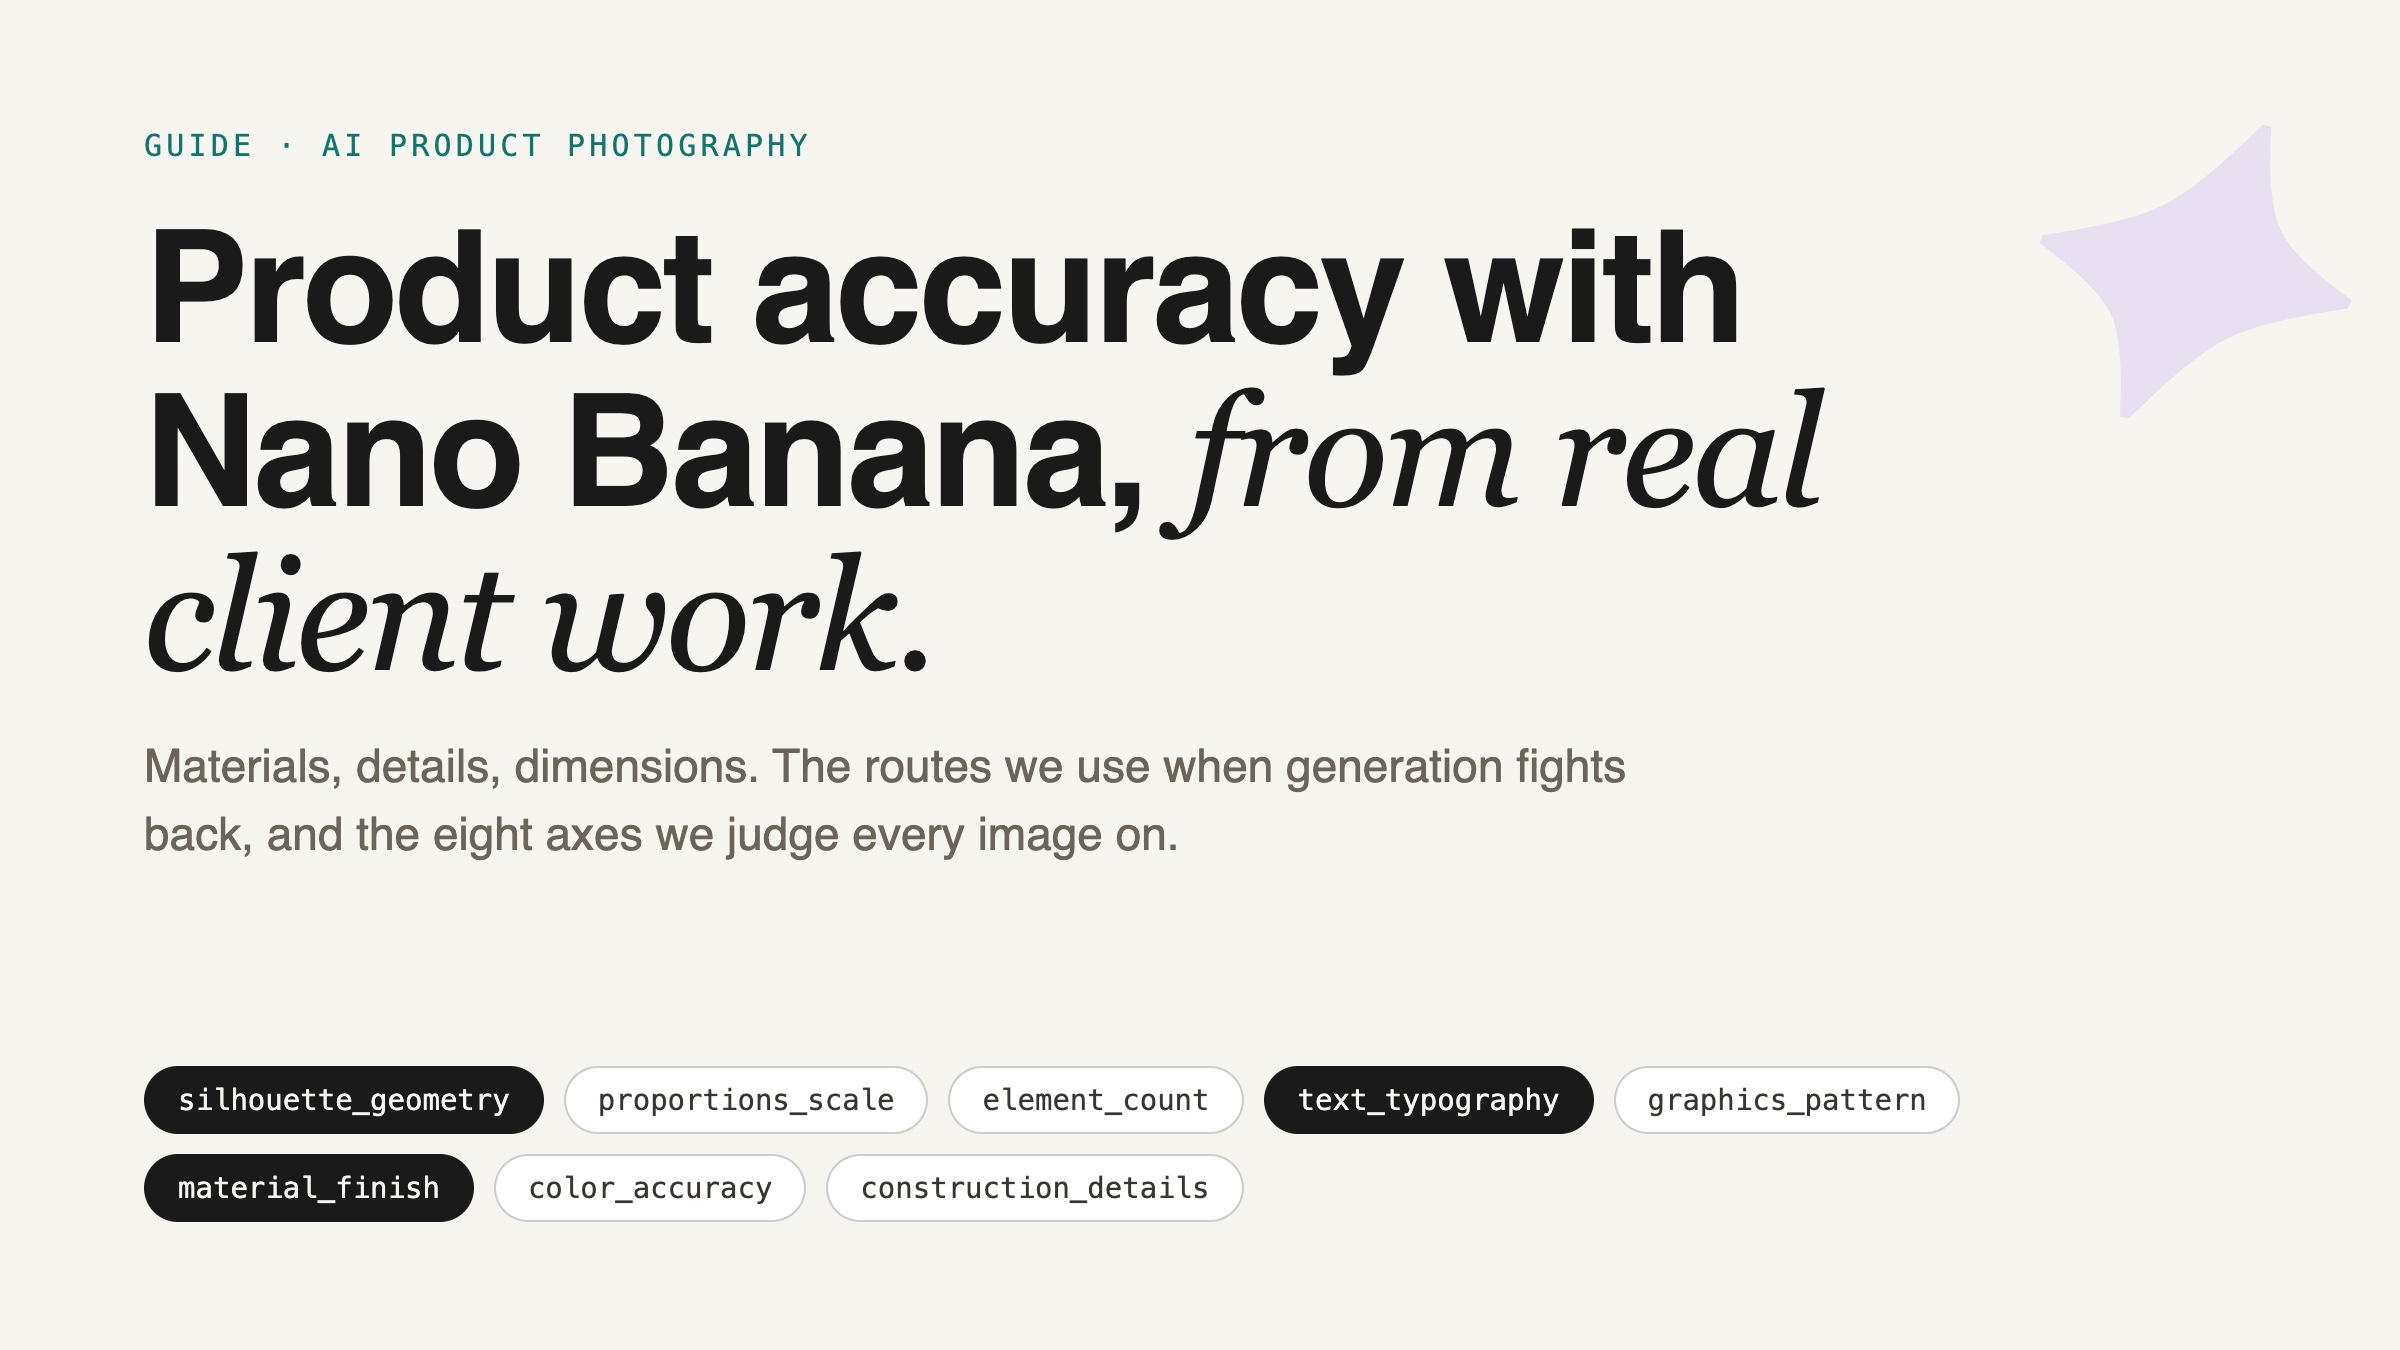
Accuracy is not one problem, it is eight. Every defect an AI image can carry against the real product lands on one of eight fidelity axes: silhouette or outline, proportions and scale, the count of parts, text and typography, artwork or pattern, material and finish, color accuracy, and small construction details. Naming which axis is broken is the whole diagnosis. Think of the finished image as the top of a roof with many ways up: each axis has a technique built for it, and picking the technique IS the diagnosis. Taste first (name what is wrong), then the route map hands you the method. Never technique-hop at random; when one route keeps failing, switch methods instead of forcing the same one harder.
Some axes have their own defect class most people never name. Count errors, five buttons rendered as six, are a failure mode with their own fix. Character consistency across a whole catalog is another: keeping one AI model's face identical shot after shot is what comp cards solve. And the very first fork on every job is how many steps to spend, one prompt or a sequential pipeline. Under every route sits the same law, so learn that first.

Start with the Blueprint Principle: text is your highest-fidelity input
Here is the thing almost nobody believes until they try it. The best scenario for product fidelity is if you can describe the product in a prompt. This is idiot proof. This is the ultimate Tao of the Prompt.
Text-to-image is natively the highest-fidelity generation mode you have. When people convert an image into a written description and regenerate it, they notice it "naturally upscales." That upscale is a consequence, not the point. The point is that any product can, in principle, be described. Even a low-res product image, if you can create a perfect text-to-image description of it, you will get a higher output.
So why does everyone reach for a source image (an "ingredient") first? Because of a human limitation, not a model preference. For us humans it's hard to describe complex products in a domain we're not expert in. How do you describe a complex hinge on a pair of glasses? The ingredient is a crutch for the limits of human description. It is powerful, and it is optional.
On a recent bedding project, the master scene prompts were built and locked with pure text-to-image, no product image at all. The factory photo of the quilt only entered very late, to carry the one last-mile detail the words couldn't: the flange. That is the pattern. Develop your masters in text; attach an ingredient only for what text genuinely can't reach. When you already have an image but need surgical control, run the same principle in reverse (I call it Blueprinting, and it's a route in its own right below).
The ceiling on all of this is your ability to describe, not the principle. That is exactly where a good assistant beats a human: it can describe a complex hinge that most people can't.
The three rules underneath everything
Never over-describe the ingredient. When you input an image, you don't need to describe what's in it. We don't need to say that a yellow flower is a yellow flower. We can just say "the flower from image one." That's enough. Over-describing the subject introduces errors, because the text and the pixels start fighting each other. Same with simple style jobs: don't overprompt, just say "turn this image into studio ghibli style," you don't need more.
That does not contradict being precise. Be precise about the scene, materials, camera and constraints; be silent about what the ingredient already shows. The prompt really is the heart of everything. A perfect prompt has no room for interpretation. It is just complete, precise, absolute. On hard projects, one word out of 1000 can change the whole output.
AI does not understand dimensions, only magnitude. This is the single most useful thing I know about these models. They were trained on images, not rulers, so they never learned centimeters. Write "5cm flange" and you'll get a 20cm flange. In order to describe size accurately, you not only need dimensions but also compare it to existing objects in the scene. More on how below, and the full ablation is in Size Control.
Never bridge a big delta in one step. If your reference is a front-facing product and you want it on a model at the beach in three-quarter view, that is three transformations, not one. Do them one at a time. Most of the errors in accuracy come when we try to rotate the product or show a size the AI is not aware of. When the delta genuinely needs more than one edit, that is the sequential pipeline call.
Batch economics: the discard pile is the filter
And make peace with the fact that accuracy work is probabilistic. A 90% discard rate is not a failure of the prompt; it is the visual filter working exactly as intended. On one eyewear drop the real count was 137 generated, 27 shortlisted, 12 delivered. Budget two to three hours for a hard shot, and show the client only the flawless ones.
Discards are the quality filter working: a beginner burns about ten generations per keeper, a prepared operator two to three. Preparation moves you down that curve, and the client only ever sees the flawless ones. Plan three to six variations for an easy task, up to about ten for a borderline or random one. Beyond ten on the same prompt, the prompt is the problem, not the dice. Never one-shot at full price, and never ship at draft quality.

The routes: seven ways up, and knowing when to stop climbing
Think of the finished image as the top of a roof: many ways up. Pick the route that matches the gap you're facing.
1. Fix the input first. Before you touch the prompt again, ask whether the source image is the actual problem. If a human can't see the hinge in a 300x300 crop, the AI can't either, and it will have to invent the details, and in more cases than not it will invent them wrong. Get your ingredient to at least 1,000px on the long edge, ideally 2,000px. Match input resolution to output resolution: 2K in for 2K out is parity. Strip the background so nothing but the product survives, and crop to your output aspect ratio so no silent transformation hides in the frame. If the ingredient's content is wrong (the wrong tile style on the table), fix the ingredient, not the final scene: the source image is the problem, we need to regenerate the image of the table and the tiles with the style we are after. If details still won't resolve, bump the output resolution. From my own notes, verbatim: "4k is much better STUPID." And when variations plateau completely, the model itself is the variable: same prompt, next model. On the bedding flange, it only converged after I switched models.
2. Change one thing at a time. Lock a control image. Change exactly one variable per variant. Keep the winner, fold it in, repeat. This is the control vs variant pipeline, the scientific method applied to images. When you know which descriptor is failing, generate slight micro variations of that descriptor only, to force the odds. On a pair of narrow glasses that kept rendering tall, I asked for slight micro variations of the prompts around the area that describes the glasses (oval, then elongated oval, and so on) so that we get more of a chance to get a version that works. I call it "Micro-iterations," and it is a very key skill. Realism works the same way: on the publisher's door I ran ten labeled single-variable variants (vignette, chromatic aberration, production marks, ISO-800 grain, patina, ambient bounce), judged each one yes or no, and folded only the winners in. Realism is a collection of small adjustments which can take hours.
3. Re-pose the product before you place it (pose-match). When the reference and the target differ by a rotation or a pose, don't make the compositor carry that. Transform the ingredient first, in isolation. The glasses chain: start from a front-view product shot, ask to "show these glasses in three-quarter view" (same background, same aspect ratio, only the rotation), take that output as the new ingredient, then "a man wearing these glasses in three-quarter view, close-up portrait," take that as the new ingredient, then "editorial photography of this man on a beach, bokeh, orange and blue accents." Three small deltas instead of one impossible one. By the end, we don't even need to mention the glasses anymore because the glasses are in the source image. Match the angles deliberately: frontal pose gets the front-view reference; three-quarter pose gets the three-quarter reference.
4. Freeze the product, build the world around it (lock-and-outpaint). The inverse of re-posing. Instead of moving the product to fit a scene, freeze its exact pixels and outpaint the world around them. The skeleton I use, verbatim: "Keep the [product] [image1] in exact original position, crop, zoom, and angle. Do not regenerate, alter, or reprocess the glasses themselves. Outpaint the background on all sides into [surface/environment]. Match the existing lighting on the glasses to the new light direction." From one locked studio shot I got four finished surfaces (walnut burl, burgundy silk, weathered concrete, cognac leather). Zero product delta means zero product drift. When the deliverable is "product on a surface," this is the highest-accuracy route you have.
5. Break the problem down. When you don't know which variable is wrong, or full-scene context defeats every fix, descend to the smallest part, solve it in isolation, then rebuild upward. On a mahjong lifestyle scene, after several failed full-scene attempts, I stopped: "ok I think I'm too ambitious, let's try something else. Using image one create a visual of these sets of tiles on a green table. That's it, forget the rest. Just the table for now." Once the table was solid, it became the anchor and the scene got rebuilt around it. Same logic for a lighting brand's room: build the apartment first, and add the lighting once we are happy with it. Scene first, hero product second, each step verified before the next.
6. Rebuild the image as a prompt. This is Blueprinting in action, and it's how you edit a scene the compositor refuses to touch directly. Have the AI describe the target image exhaustively into a text-to-image prompt, naming every subject, position, material and light. Then edit the blueprint: delete only the descriptions of what you want to replace ("leave out any descriptions of the set of tiles"), keep everything else, and regenerate with the new ingredient attached to fill the hole. That's how a client's real mother-of-pearl tiles got into a scene the model wouldn't edit, and how a reusable tile master prompt was born. Once you have that master, new items are surgical swaps of the subject block only: "replace the peacock mentions with whatever new illustration we're working on." One prompt, 38 tiles.
7. Know when to finish by hand. Some things are beyond what today's models will do, and saying so is a valuable output, not a defeat. A crisp percale drape: the AI wants none of it. I tried for more than half an hour, maybe 45 minutes, then picked the sharp folds from the factory image and painted them onto the AI lifestyle image with a clone brush. The pattern is always the same. AI gets the scene 90% there; the last 10% of material truth gets applied by hand from the factory reference. The skill is recognizing the wall and stopping, instead of burning 20 more credits into it.
The dimension toolkit
Because the model only understands magnitude, here is how to control size (the measured deep dive is Size Control, where a 126-image ablation shows centimeters coast while comparisons and magnitude words actually steer):
The magnitude ladder. Escalate the adjective until reality matches. On a flange the sequence ran 5cm, "small" (way too big), "very small" (still too big), then "extremely small," which finally rendered at about 5cm. Keep the number and the magnitude word together. The winning line was "match its fabric, finish, drape, construction and extremely narrow flange precisely." Relational anchoring. Drop an object of known, trained size into the scene and chain to it: "there is a plate on the table with an average diameter of 20cm, the lamp above it is the same diameter as the plate." Use ONE clean, singular anchor with a landmark phrase. Not hands: our dimension eval measured a hand at 39% error, one of the worst anchors tested, and plural anchors failed too. Centimeters alone are not magnitudes the model knows. Relationship, not dimensions. Full measured detail in size control. Landmark anchoring for anything worn on the body: anchor to face and body geography. "Sitting low on the face with the bottom of the lens barely reaching mid-nose bridge." "The top frame rim distinctly below his eyebrows, creating a visible gap of skin between brow and frame." Emphasis and negation. Put the critical constraint in caps and name the failure mode: "CRITICAL frame proportions: only 4cm vertical height, covering minimal vertical area, NOT tall aviators." You can also attach a rough sketch of the placement: by attaching a sketch of the glasses position relative to the eyebrows I'm getting better results.
The material-vocabulary toolkit
The model knows what it was trained on. Your job is to translate client specs into that language (Material Fidelity is the full method, backed by a 75-image eval that found materials fall into three prior classes):
Material analogies. Engraving on pearl only cracked when I described it as a known craft: "carved as recessed grooves filled with thick matte black hand-painted enamel, fine fibrous woodgrain stamp pattern resembling a linocut print pressed into the pearl surface." Linocut, woodblock and lacquered woodcarving are dense training concepts. "Engraved like the client wants" is not. Negative lists. Fence out failure modes by name: "no sheen, no shine, no satin/sateen gloss. Smooth flat weave, not slubby, not textured like linen" for percale. Named-entity precision. Real product, brand and place names anchor better than adjectives: "each prop must be contemporary Italian, I need the product names and brand name for each. We need precision here, not AI approximation." Same logic behind naming film stocks (Kodak Portra 400) and cameras (Hasselblad X2D). Single-word diagnosis. When the output is almost right, hunt the one wrong word: "I want this to be an engraving but it's looking more embossed than anything. What word am I using wrong in the prompt?" Engrave, emboss, embed and intaglio each pull a different geometry. And when a phrasing is already proven, steal it wholesale.
Honest limits
Method carries you a long way, but some walls are real in 2026. AI still can't reliably produce series-consistent type: ten tiles that must share one exact embossed number style will drift. It can't match a deliberately blurry or soft reference, because it insists on adding clean detail. Fine drape physics, the crisp fold behavior of a specific fabric, still tends to dissolve. For those, the last 10% is manual, composited in from the factory reference by hand. That is not the model failing you; it is you knowing where the tool ends and finishing the job anyway. Inside Dezygn, that manual finish is what our Atelier editing studio is for.
The library: your deep dives
This pillar is the overview. Each route below has its own deep dive, and together they are the cluster this page hands you off to:
Size Control: why the model reads magnitude, not centimeters, and the ladder that fixes wrong dimensions.
Material Fidelity: when to name a material plainly, and when words simply cannot cross the model's default idea of it.
Lock-and-Outpaint: freeze the exact pixels of the product and paint the world around them for zero product drift.
The Sequential Pipeline: how to build a complex shot in checked steps, and when to chain for control instead of one-shotting.
Count Errors: the defect class of wrong part counts, and how to force the number the model keeps missing.
Control vs Variant: the scientific method for images, one changed variable at a time.
Pose-Match: create the product angle your photo never captured, without losing the product.
Comp Cards: keep one synthetic model's face consistent across an entire catalog.
The Route Map: the full diagnosis table, defect class to technique, that ties the whole library together.
Why this is worth writing down
Here's the uncomfortable proof that method matters more than muscle. We built the Product Fidelity Bench to test whether frontier AI vision models can even judge product accuracy at a real client bar. They mostly can't. The number we track is the false-pass rate: how often a judge approves a defective image, the exact failure that reaches a client. Even the strongest models miss defects a working professional catches on sight. If the best AI in the world can't reliably see the defect, you can't outsource the eye. You have to bring the method.
This library is what we built that bench around, and it's what we're training Dezygn's assistant Awa on, so the routes above run inside the app instead of living in my head. If you make product images for people who inspect them closely, come try it. Dezygn is where I do this work.
Key Takeaways.
- Product accuracy is a four-move discipline: name the defect class, diagnose it, route it to one technique, judge the output against the real product.
- The whole method is one idea repeated: never ask the generator to bridge a big delta in one step.
- AI does not understand dimensions, only magnitude.
- A 90% discard rate is not a failure of the prompt; it is the visual filter working exactly as intended.
- AI gets the scene 90% there; the last 10% of material truth gets applied by hand from the factory reference.
- This method is measured, not believed: blind-judged evals across 126 dimension images, 75 material images, and 48 pose generations back the routes.
Ready to Put This Into Practice?
Dezygn gives you the AI creative tools, training, and community to turn these insights into real results for your clients.
Start FreeRelated Resources.
Size Control: Why AI Doesn't Understand Centimeters
Write '5cm border' and get one four times bigger? AI learned from pictures, which carry no measurements. Steer size with magnitude words and clean anchors.
Read guideThe Prior Test: When the AI Knows Your Product's Material Better Than You
How do you get AI to render a material correctly? Run the prior test: find out what the model already believes it looks like, then decide if words can fix it.
Read guideLock-and-Outpaint: Zero Product Drift by Freezing the Pixels
Lock-and-outpaint freezes your product's exact pixels and paints the world around them, so it can never drift. When to use it, the prompt, the failure modes.
Read guideThe Sequential Pipeline: Build Complex AI Product Shots in Checked Steps
Chain for control: decompose a complex AI product shot into validated intermediate assets with a hard quality gate between every step.
Read guideCount Errors: The AI Defect Class Nobody Talks About
Why does AI add or drop buttons, straps, and holes? A count error is a wrong number of parts. Here is how to catch them with an 8-axis check and fix them.
Read guideControl vs Variant: The Scientific Method for AI Product Images
How to fix an almost-working AI image without breaking it: lock a control, test one change per variant, and keep only the winners. Prompt-as-version-control.
Read guidePose-Match: Directing AI Models Without Losing the Product
What pose-match is and when to use it: the route for creating a product reference that doesn't exist yet, plus the eval that says use one jump, not a chain.
Read guideComp Cards: Consistent AI Models Across a Whole Catalog
What a comp card is in AI photography: a pose grid for choosing a model, plus the clean portrait you composite from to keep one face across a catalog.
Read guideThe Product Accuracy Route Map: Diagnosis to Technique
How do you fix an inaccurate AI product image? Name the defect on one of 8 fidelity axes, then route to the exact technique that clears it. The full map.
Read guideThe Visual Syntax Framework
The 6-ingredient framework behind professional AI product photography: Style, Subject, Action, Scene, Camera, Brand. Stop prompting like a slot machine.
Read guide